Animation Baker
How To Bake
Open Baker from the Unity toolbar.
Spirit604/Animation BakerCreate Animation Collection from the project context, or use existing one (optional step).
Spirit604/Animation Baker/Animation Collection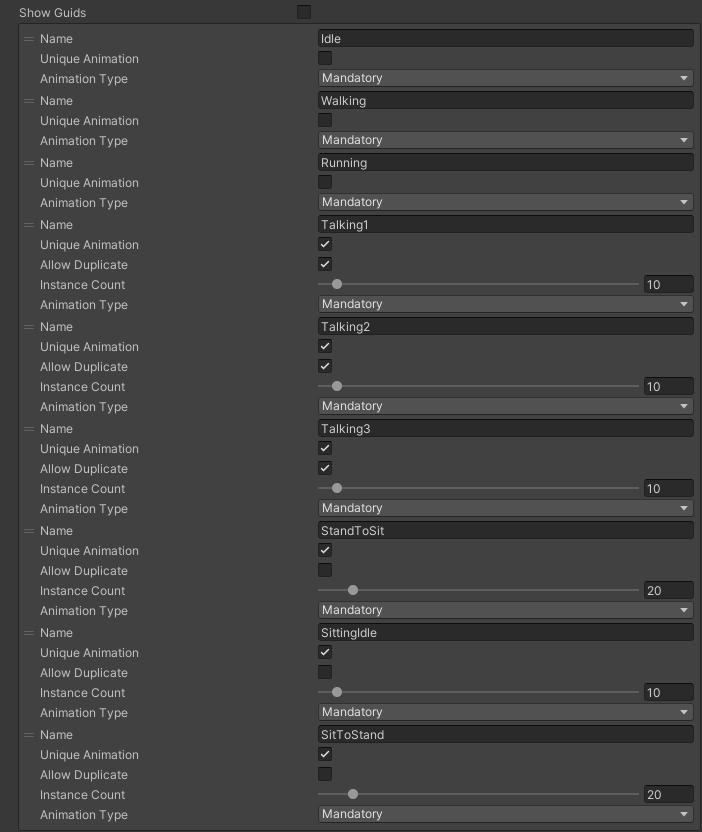
Add and customize desired animations data.
Assign collection in the Animation collection field.

Customize texture & save path settings.
Drag & drop selected SkinnedMeshRenderer of pedestrians into Skins field.
By default, animations are taken from TemplateClipData Interpolated template when selected template type. Select the Custom type in the Clip data source to add new animations or override the existing template.

Drag & drop selected animations of pedestrians into the Clips field.
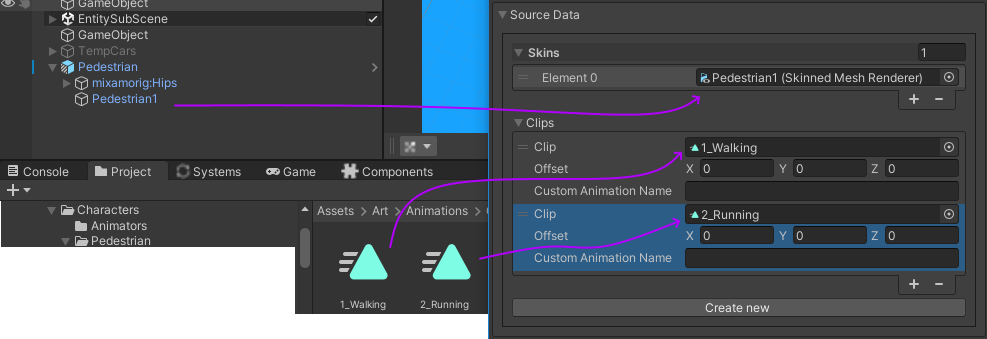
Drag & drop example.
Press the Create new button.

Multiple animation result example.
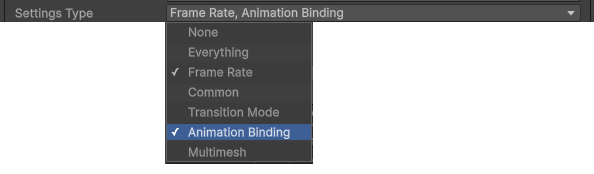
Enable Animation binding flag in the Settings type.
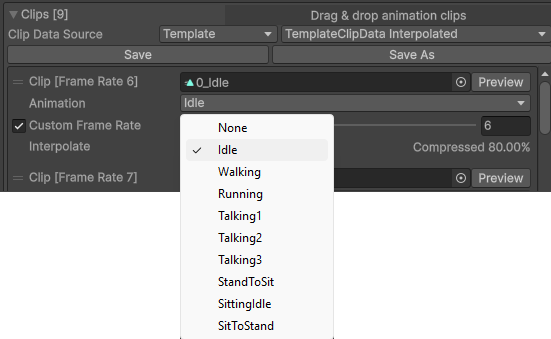
In the Clip data section, select each animation according to the Animation Collection.
If you edit any settings, press the Update texture button.
After customizing all settings, press the Save as new button.
In the project view, check the prefab result.
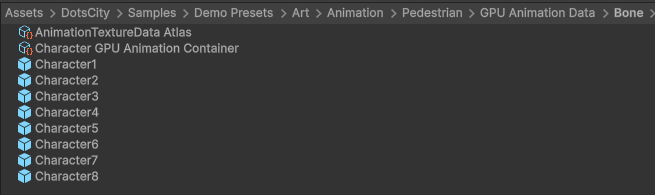
Prefab result example.
How To Bake Multi-Mesh
This only works for vertex skinning method.
Enable Multimesh type in the Settings type.
Customize modular character with desired skinned mesh renderers.
Add gameobjects with the desired attachments to the child of the desired bone [optional].
Drag & drop character parent to source skin list.
Make the same steps for baking.
Baker Window
Settings

- Settings type:
Frame rate : shows frame rate settings.
Common : shows common settings (custom offset & custom animation name).
Transition mode : allows you to preview the transition from one animation to another in the editor.
Animation binding : shows binding settings of the Animation collection.
Multimesh : allows you to bake animations with multi-skin renderers or with custom attachments [vertex skinning method only].
- Compression type:
Uncompressed : uncompressed format of baked texture.
Compressed : compressed format of baked texture. [currently not available]
- Texture bake type:
Single texture : bake all characters to single texture.
Multiple textures : bake each character to unique texture.
Source Data
Toolbar

Clip Data

Clip : reference to the clip.
Custom frame rate : custom frame rate of the clip.
Interpolate : on/off interpolation feature for the clip.
Offset : local offset of vertices in baked animation.
Custom animation name : custom animation name (if the field is empty the name from the clip will be taken).
Preview : on/off preview playback of baked animation (make sure the texture is created and any character is selected in the toolbar).
How To Preview
Bake the texture.
Select any character (for example Character1).
Press the Preview button.
Make sure that Refresh Always option is enabled in the editor.

Texture Data
Shows a preview of the created texture.

Transition Data
Shows a preview of the transition animation between two selected animations.
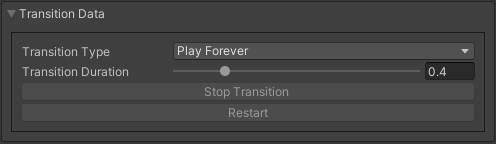
- Transition type:
Play once : animation plays only once.
Play forever : animation looped forever.
Transition duration : time to end of current animation when interpolation transition between animations is enabled.
How To Use
Enable Transition mode in the settings.
Bake the texture.
Select any character (for example Character1).
Press the Preview button for the source transition animation.
Then, press the To button next to the animation you want to target.
Adjust the Transition duration if required.
Crowd GPU Animator
The Crowd GPU Animator is used for transitions between GPU animations.
How To
Open
Open in the scene CrowdGPUAnimatorAuthoring.
Hub/Configs/BakerRefs/Settings/CrowdGPUAnimatorAuthoring
Initial Set Up
- Steps:
Create an Animator Data Container from the project context and assign it to the custom animator (if necessary).
Create (if necessary) and assign Animation Collection the same as in the PedestrianCrowdSkinFactory.
Create Node
Right-click in the window and select the desired node from the context menu.
Create Transition
Transition is a sequential set of nodes StartNode–>AnimNode–>TransitionNode–>AnimNode–>TransitionNode–>AnimNode–>… (example).
- Steps:
Create a new transition layer (if required).
Enter the name of the trigger in the StartNode.
Create and connect AnimationNodes and TransitionNodes.
Create Transition Layer
Press the + button on the main toolbar at custom animator to create a new layer, or press - to delete the currently selected layer.
Test
You can test the transition between two animations & adjust the transition duration in the editor in AnimationBakerWindow.
Graph Nodes
Start Node
Node where the transition begins by trigger.
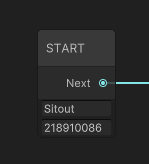
Note
Hash from trigger name generated by Unity method Animator.StringToHash
Animation Node
Animation playback node.

Transition Node
Node with settings for switching between animations.
Node Type:
- Defaultanimations play sequentially one by one without interpolation.
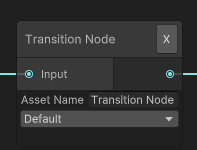
- To Startthe previous animation is interpolated to the beginning of the next animation with the set duration.
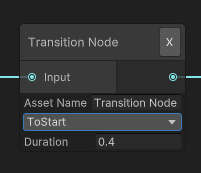
- To Global Syncthe previous animation is interpolated to the global playback time of the next animation with the set duration.

Transition example

Start sit transition example.

Sitout transition example.
Animation Collection
Contains meta-data of existing animations for the pedestrians.
How To Create
From the project context :
Spirit604/Animation Baker/Animation Collection
Settings
- Unique animationa unique animation mesh instance pool will be created for this animation.
Allow duplicate : is it allowed to take an animation from the pool if it is already being used by another character.
Instance count : animation pool size.
- Animation type:
Mandatory : each entity of the crowd must have this animation.
Optional : each entity of the crowd doesn’t necessarily have to have this animation [step 16].
Animator Data Container
Contains data about animation transitions.

- Layer Datacontains data about transition.
Entry node : asset node where the transition begins.
Activate trigger : name of the transition activation trigger.
Activate trigger hash : hash of the transition activation trigger.
All nodes : all transition nodes.