CityGen3D
Limitations
For some complex generated roads may end up with artifact & may require manual fixing for them.
Currently, pedestrian nodes are not generated.
How To Use
Buy & download, import the following asset plugin:
Getting Started
Add the CITYGEN_3D scripting define to the Player Settings of the project.
Open your scene.
Create City base, in the Unity toolbar open:
Spirit604/CityEditor/Create/City Base
Create a new game object & add CityGen3D_RoadGenerator component.
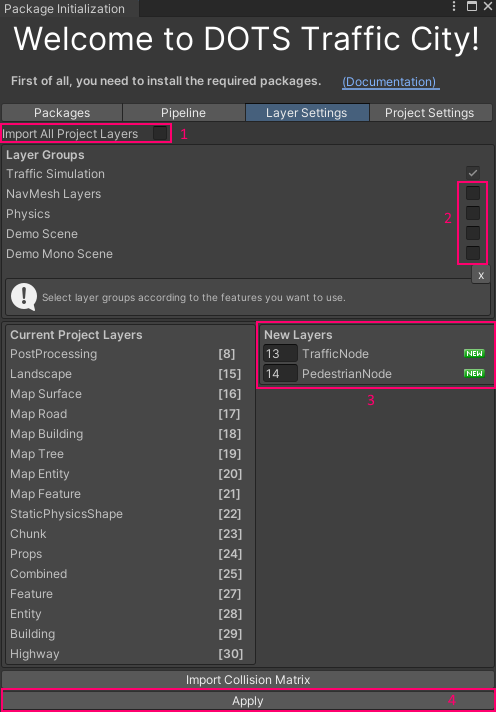
By default CityGen3D overrides layers, to assign the required layer for the current project, open the package init window:

Untick all toggles, set new layers for Traffic & Pedestrian nodes (for example 13 & 14) & press Apply button.
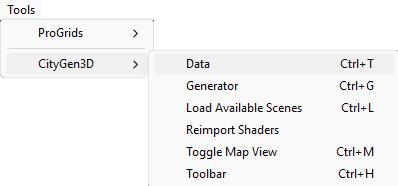
Open CityGen3D Data tab.
In the Data tab:
Set Data source to Download.
Make sure the Locked toggle is unchecked.
Place the cursor on the OSM map for the desired location.
Press Download button.

After the download is complete, scroll to the bottom of the page.
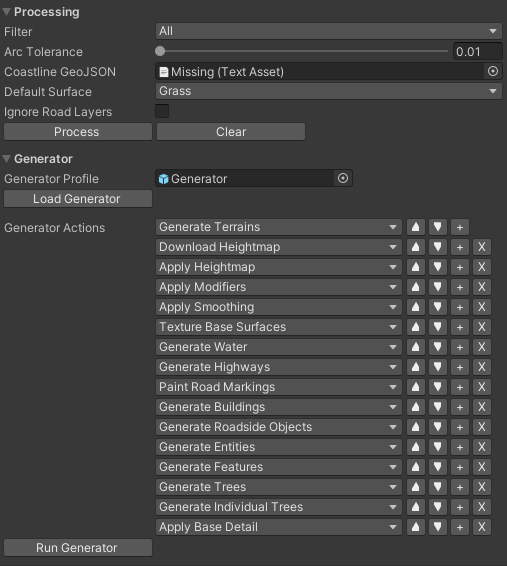
Press Process, Load Generator, Run Generator buttons in sequence.
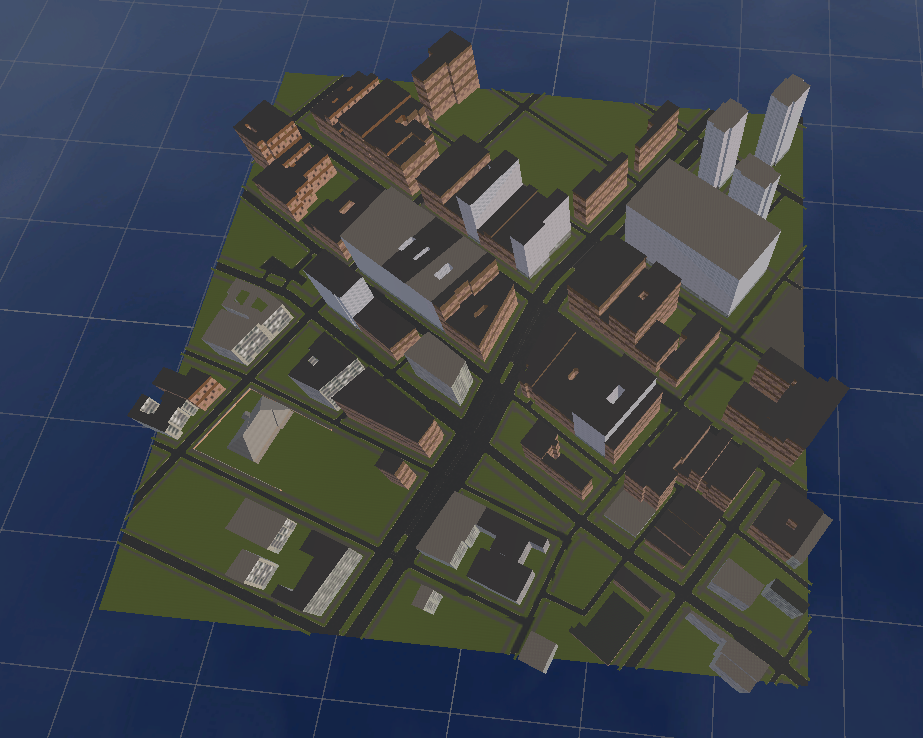
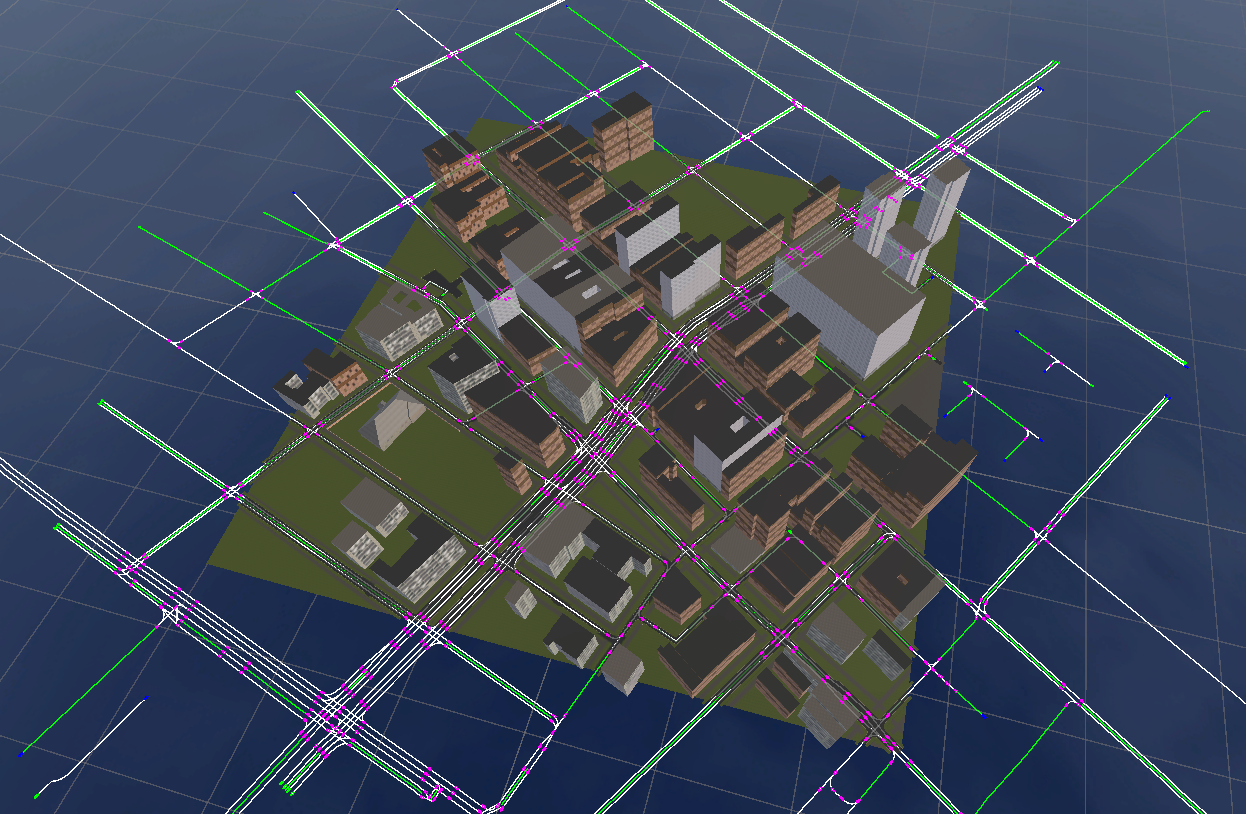
Result
In the CityGen3D_RoadGenerator, press Generate button.
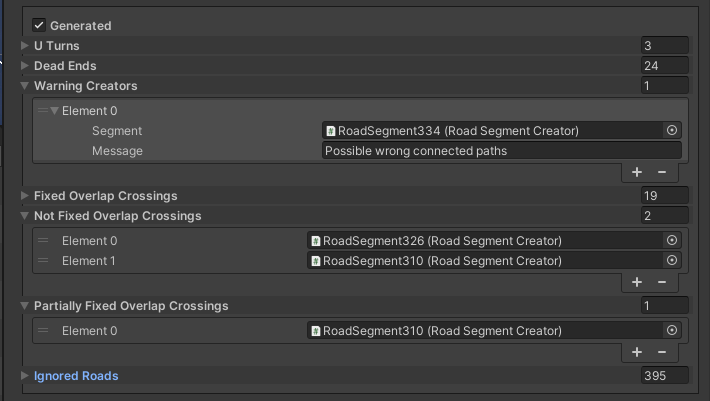
In the Debug tab, enable Show select buttons.
In the Generated tab, check all problems, also check for road artifacts in the scene & fix them by selecting segments & fixing nodes & paths for them.
Generate a subscene when all steps are done.
If you want to regenerate roads, press Move back button in the Hub & regenerate roads in CityGen3D_RoadGenerator & generate subscene in the Hub again.