EasyRoads3D
How To Use
Buy & download, import the following asset plugin:
Open your scene.
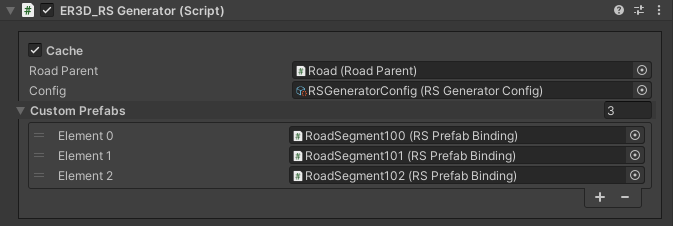
Create a new game object & add ER3D_RSGenerator component.
In the Config field select default config or duplicate exist sample config.
Set Min road length to the desired value to ignore short roads.
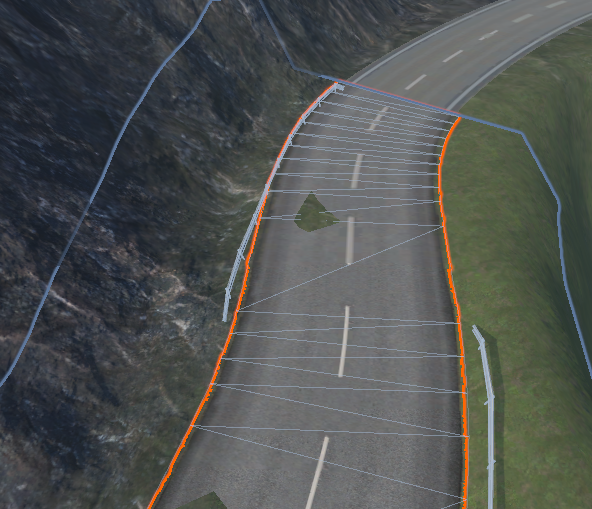
Select any 2-lane road in the scene.
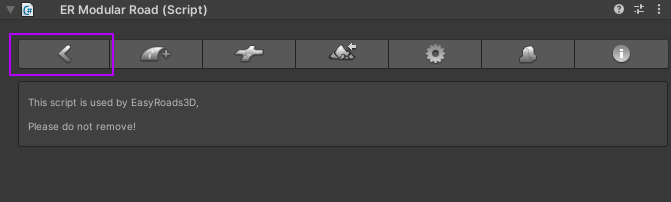
Press left-arrow button in the inspector.
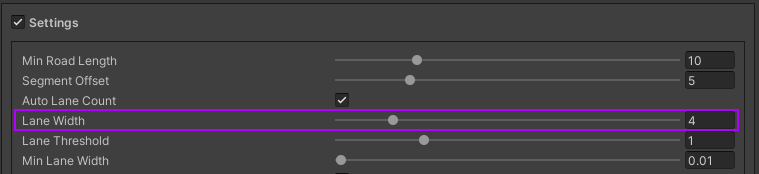
Check Road width & set lane width in the ER3D_RSGenerator accordingly.
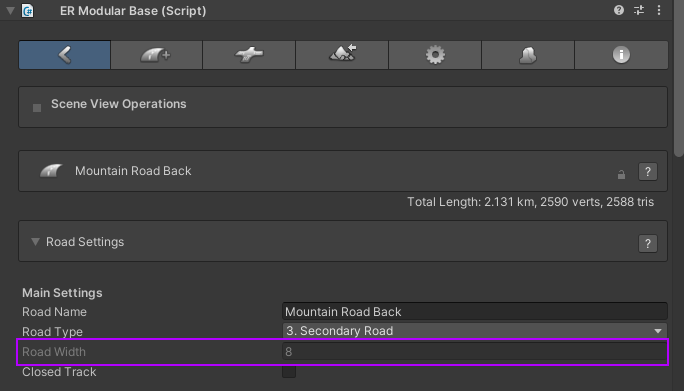
For example, 8 road width & 2 lanes => lane width is 4.
Set Ignore road names to ignore roads that aren’t intended for traffic. [optional step]
Set Speed limits for crossings. [optional step]

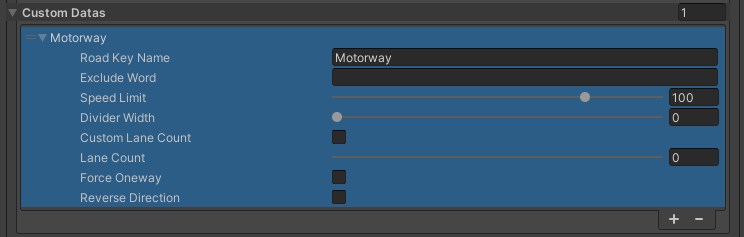
Add Custom Datas if you want to override the settings for certain straight roads with specific text. [optional step]
- If your scene have custom road prefabs with ER Crossing Prefabs component:
Create the Road segment where your custom prefab road is located.
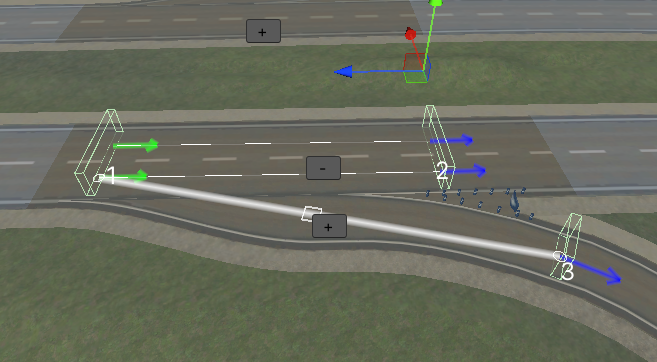
Example
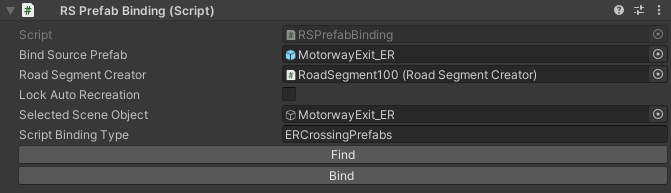
Add the RSPrefabBinding component to the created Road segment.
In the RSPrefabBinding component, enter ERCrossingPrefabs text into the Script binding type field [one-time step].
Press the Find button.
Press + button on scene.
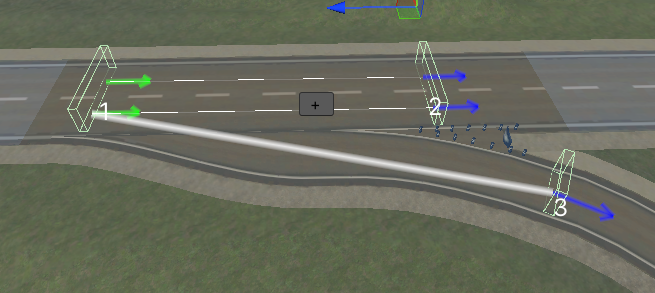
Example
Make sure the Selected scene object field have the correct scene road.
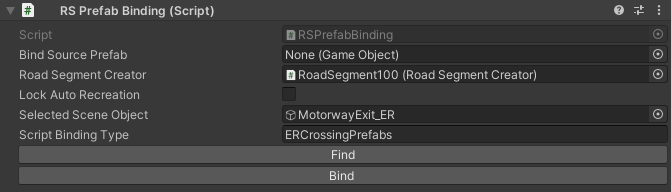
Press the Bind button.
Save created Road segment to prefabs.
Add created prefab to the ER3D_RSGenerator into the Custom prefabs field.
Press the Generate button.
Open the Generated data tab.
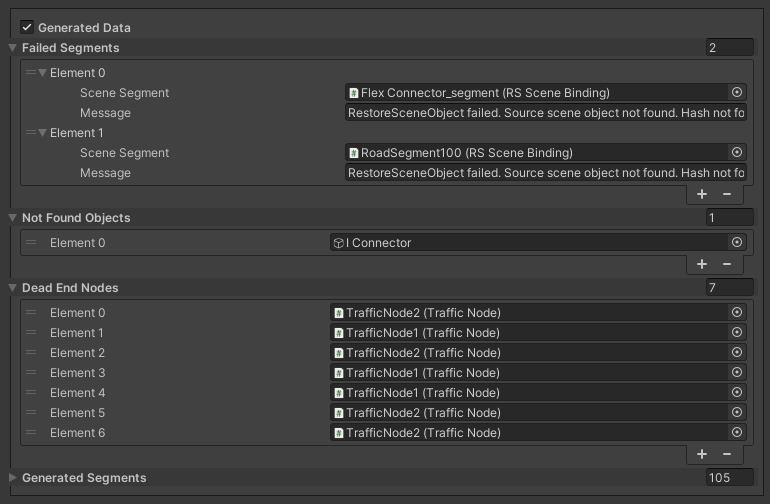
Check the generated data for errors & dead ends.
- If you want to customize road & exclude the desired road from being deleted for the new generation:
Select the desired Road segment on the scene.
In the RSSceneBinding component, tick on the Lock auto recreation option.
If you now regenerate roads with ER3D_RSGenerator, this road will be saved for destruction.