Road Network Workflow
This guide covers the full step-by-step process of building and configuring a functional city road network from scratch.
Phase 1: Initial Setup
Create the initial scene base objects via the Unity toolbar.
Create the required Road Segments.
Add all created segments as children to the Road Parent object in your scene hierarchy.
Phase 2: Path & Node Creation
Create the necessary paths using the editor tools.
Configure specific path parameters such as speed limits, traffic groups, and lanes (read more about path customization).
Connect the adjacent road segments together. For detailed instructions on automation and manual tools, see the How To Connect Roads guide.
Adjust the Traffic lights and intersection timings.
Phase 3: Baking & Subscenes
Select the Road Parent component in the hierarchy.
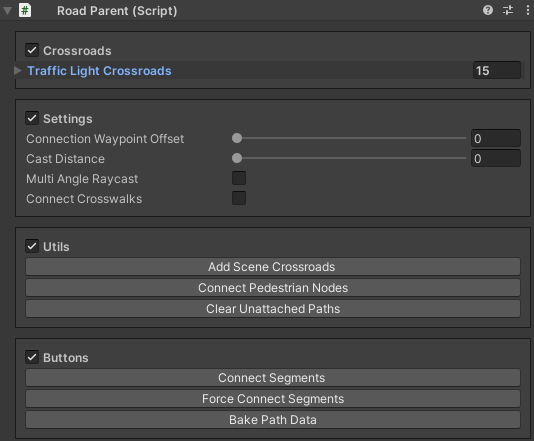
Click the Bake button.
Warning
Data baking must be done after every road modification and strictly before entering Play Mode. For more details, see Baking Info.
Generate the Entity Subscene. This is a one-time procedure to convert standard GameObjects into high-performance DOTS entities.
Next Steps
For any further modifications to existing roads, layouts, or runtime parameters, please refer to the Road Editing Workflow.
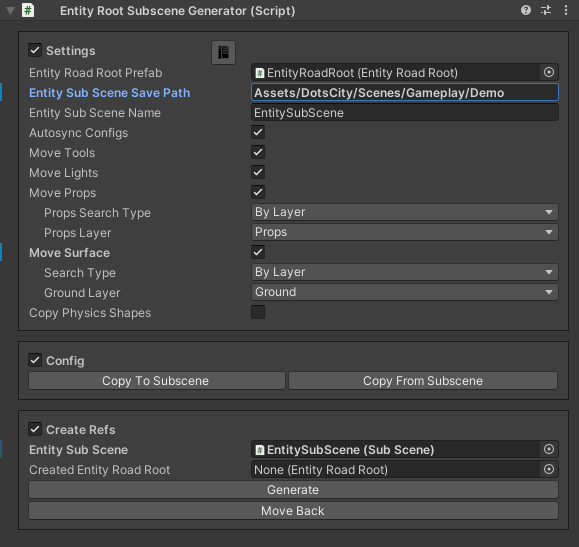
Entity Subscene Creation
From DOTS 1.0 onwards, all entity conversions must be done using subscenes. It’s necessary to create a separate subscene for roads.
- Steps:
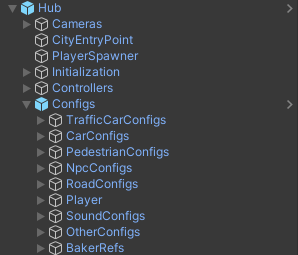
Select Hub in the scene.
Select Entity subscene path the path to create a subscene.
Enter the Entity subscene name or use the default name.
On/off autosync configs (before migrating the configs to the subscene, they will be synchronized with the configs that are in the Hub).
On/off copy physics shapes feature (read more about physics shape transferring) [required if you plan to use DOTS physics].
Press the Generate button.
Config Editing Workflow
There are 4 variants to edit configs:
Main Scene Editing
Steps
Directional Editing
Steps
Manual Sync Local Config
Steps
Change the desired value of the desired config.
After that, the Sync To Subscene button will appear to synchronize this config with the subscene.
Auto-Sync Local Config
Steps
Open project settings from the Unity toolbar:
Edit/ProjectSettings/604Spirit/City Settings/
Tick on Sync Config On Change.
After that, any configuration changes made to the main scene are automatically synchronized to the subscene.